

Blogs
How To Adjust Water Pressure Reducing Valve

If your taps are blasting water with more force than necessary, or if your pipes are making noise under pressure, your home may have water pressure that is too high. Residential plumbing in Canada is designed to operate safely between 275 and 550 kilopascals, roughly 40 to 80 PSI. Pressure above this range stresses your fixtures, accelerates wear on pipe joints, and shortens the lifespan of appliances like your dishwasher and washing machine. The device responsible for keeping pressure within this range is the pressure-reducing valve, or PRV, and knowing how to adjust a water pressure reducing valve is something every Plombeo homeowner should understand.
This guide explains what a PRV is, where to find it, how to adjust the water pressure reducing valve step by step, and when to leave the work to a licensed professional.
What Is a Water Pressure Reducing Valve?
A pressure reducing valve is a self-contained mechanical device installed on the main water supply line where it enters your home, typically near the water meter in a basement, utility room, or garage. It contains a spring-loaded diaphragm that automatically reduces and regulates the downstream pressure regardless of fluctuations in the municipal supply pressure.
The PRV is set at the factory, typically to around 550 kPa, but it can be adjusted within a range to suit your household’s specific needs. Without a functioning PRV, high municipal supply pressure can damage your plumbing system over time.
What You Need Before You Adjust
Before learning how to adjust your water pressure reducing valve, gather a few basic tools. You will need a water pressure gauge, which screws onto any hose bib or outdoor tap and gives you a real-time reading of your current pressure. You will also need an adjustable wrench or the appropriate-sized wrench for your PRV’s lock nut, and a flat-head or hex-key screwdriver depending on your PRV model.
Start by measuring your current pressure at a hose bib with no water running inside the house. This gives you an accurate baseline before you make any changes.
Step-by-Step: How to Adjust a Water Pressure Reducing Valve
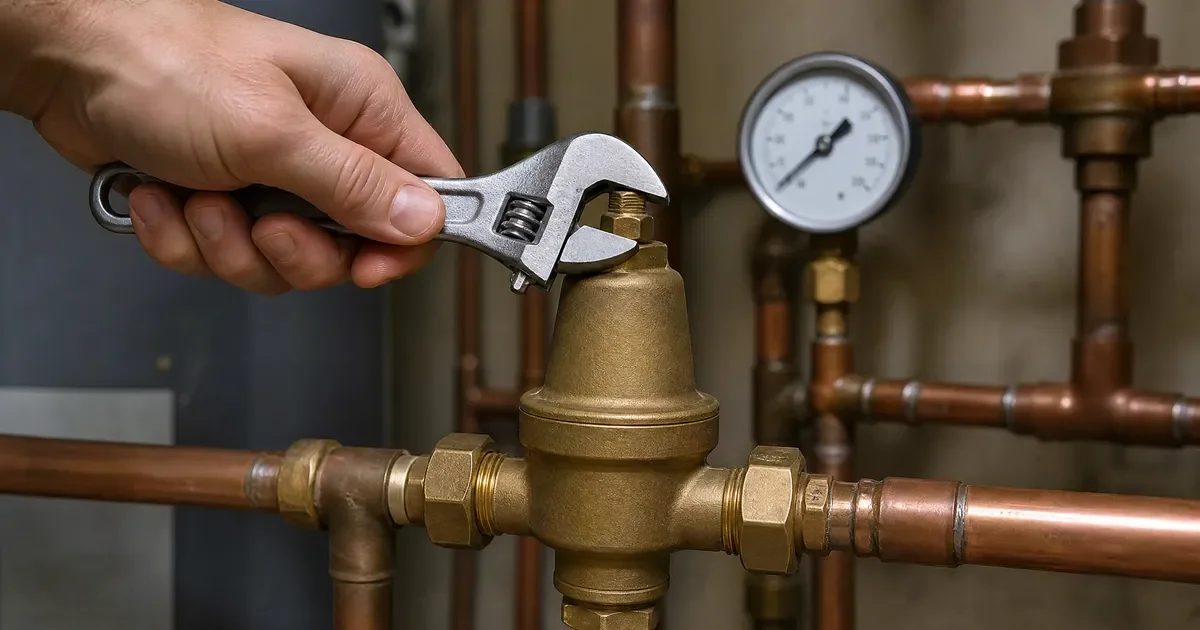
First, locate the PRV on your main supply line. It has a distinctive bell or conical shape and will have an adjustment screw or bolt on top secured by a lock nut. Loosen the lock nut using your wrench without removing it entirely.
To increase pressure, turn the adjustment screw clockwise. To decrease pressure, turn it counterclockwise. Make small adjustments, no more than a quarter turn at a time. After each adjustment, recheck the pressure gauge at the hose bib. Continue until you reach your target pressure, ideally between 350 and 480 kPa for most residential applications. Once you reach the desired setting, retighten the lock nut to hold the adjustment in place.
Do not attempt to force the adjustment screw if it feels seized or corroded. A stuck adjuster on an older PRV can indicate the valve body itself has degraded internally, which means the unit needs replacement rather than adjustment.
Signs Your PRV Needs Replacement Instead
Knowing how to adjust a water pressure reducing valve is useful, but recognizing when the valve has failed beyond adjustment is equally important. If your pressure fluctuates significantly even after adjustment, if you notice hammering or banging in your pipes at certain times of day, or if adjustment has no noticeable effect on the pressure reading, the PRV may have a failed diaphragm or worn spring internally and requires replacement.
PRVs typically have a functional lifespan of 10 to 15 years. If yours is approaching or past this age, proactive replacement before failure protects your plumbing from uncontrolled high-pressure events.
When to Call a Professional
If you are not comfortable working with your main supply line, if the PRV is inaccessible, corroded, or appears damaged, or if adjusting it does not bring your pressure into the correct range, call a licensed plumber. Incorrect pressure can damage your entire plumbing system, and a professional has the tools to diagnose the full picture.
High or low pressure affects more than just your fixtures. Understanding how to fix low water pressure in house problems helps you recognize when pressure issues require professional intervention. If you are experiencing pressure-related damage to your pipes or fixtures, our plumbing services in Montreal include full system pressure assessments. For urgent pressure problems that risk pipe damage, our emergency plumber in Montreal team is available when you need immediate help.
Contact Plombeo for professional plumbing services including PRV adjustment, replacement, and full system pressure assessment across Quebec. If you are unsure about adjusting your water pressure reducing valve, our certified team handles it precisely and safely.
One thought on “How To Adjust Water Pressure Reducing Valve”
Comments are closed.